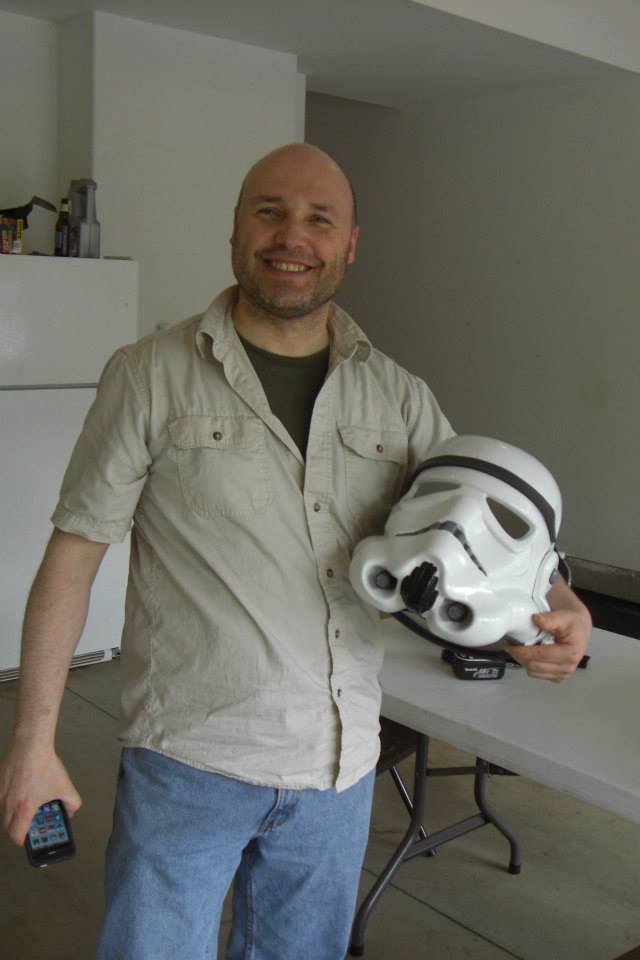
At the R2 Builder gathering last weekend, Bob brought the completed helmet with him. Wow!
I brought the rest of the armor down with me. I am like many new builders, terrified I will make a stupid error and ruin a $500 kit. The armor is white ABS plastic vacuum former over a mold. The hard part for a new guy like myself is figuring out what is mold and what isn't. Once I know what that is, I can trim the pieces as needed.
And no, there are no instructions. There are many places you can refer to and see how others have assembled their kits. Some have better details than others. I'm completely envious of people who can crank these kits together in a weekend!
With Bob's assistance, after 5 hours of trimming with plastic-cutting scissors, the pieces are trimmed down.


Now back at home, I have everything laid out...waiting for me to feel inspired about gluing that first two pieces together...

I also scored some donations from a fellow trooper who wanted to make sure I was off to a good start. Dan gave me a plastic Kenner Stormtrooper Blaster and Holster.

I while back I read a tutorial that had Stormtroopers using an electronic intercom device that had the static/radio comm like breaks. Called an ICOMM, its a neat little device that creates the static bursts.
Now I am preparing for those first pieces to come together.
I am trying to determine the fine art of shimming, where you attach two pieces together on a thin, vertical piece of plastic to give a uniform, straight edge to the armor.
Once I have more information on that, my E-6000 adhesive stands ready!
No comments:
Post a Comment